Managing content in Notion
Managing content in Notion

Understanding Bullet dashboard
Understanding Bullet dashboard


Hosting
Hosting
Membership/Content Gating
Membership/Content Gating
Blog
Blog
SEO and metadata
SEO and metadata
Liquid Syntax
Liquid Syntax
How to's
How to's
Billing
Billing
API Documentation
API Documentation
Setting up your website header
After creating your site, Navigate to your ”Navbar” Section from the Bullet’s sidebar.
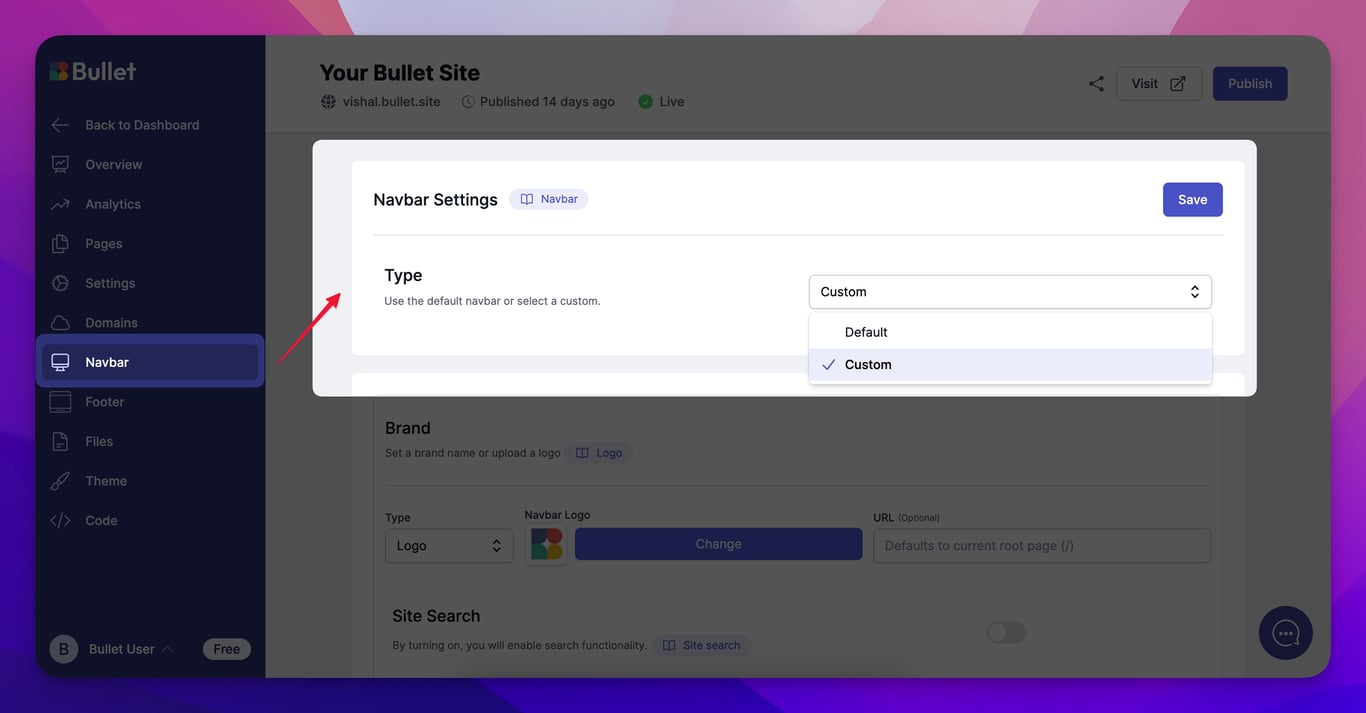
By default, the header will be empty. To add a header
- Select the dropdown and choose the ”Custom” option.
From here you can add brand details, navigation links and CTA buttons with their corresponding texts to your header.
Brand Details:
Customize the branding of your website:
- Logo: You can add text or an image as your logo which will be displayed on the top left corner of your header. You can adjust the width of this logo from the theme settings.
- Site Search: You can enable a site-wide search functionality by enabling the “Site Search” option. This will allow users to easily search any page from your site with keywords.
Navigation Links:
Add navigation links to other pages from the navbar links section.
- Title: Type in the name of your navigation link.
- Type: Select the type of navigation link. You can select one of your website’s pages directly or paste the URL of a page. You can also choose a dropdown and categorize your navigation links.
- URL: Used to choose a page from your existing website pages or paste a URL directly.
- New Tab: Allows you to open your links in the New tab for a seamless browsing experience.
- Action: Used to add new navigation links or remove the existing ones.
Call-to-Action
Configure your CTA buttons from the Call to Action section.
- Adding your CTAs works the same way as adding navigation links, only the CTAs show up as buttons instead of links.
NOTE: Don’t forget to hit “Save” after every change and then “Publish” to see results on your live webpage.